How to crochet a #grannyhottie - the grand finale
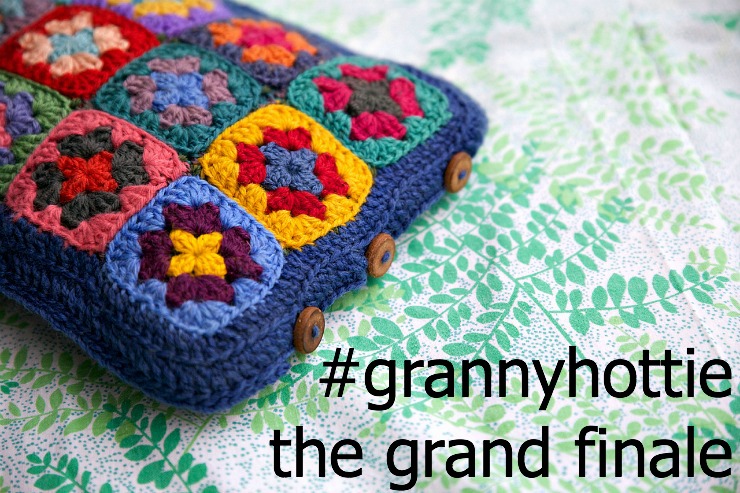
Hello and welcome to this week's edition of the #grannyhottie-a-long.
This week we'll be making a button closure so you can get your hottie in and out of its cover, crocheting the two sides into one and then we'll be making the neck cover.
Sounds like fun! Let's get to work.
Before we begin step four, if you need to catch up a bit you can find step one here, step two here and step three here.
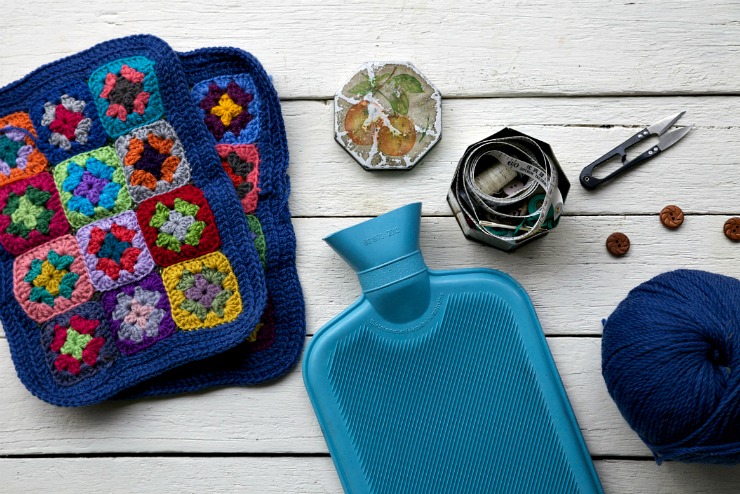
Now for this bit we'll need our two granny square sides, a hot water bottle, a tapestry needle, some snippers, between three and five smallish buttons (1-1.5cm across), your main colour of wool and your crochet hook.
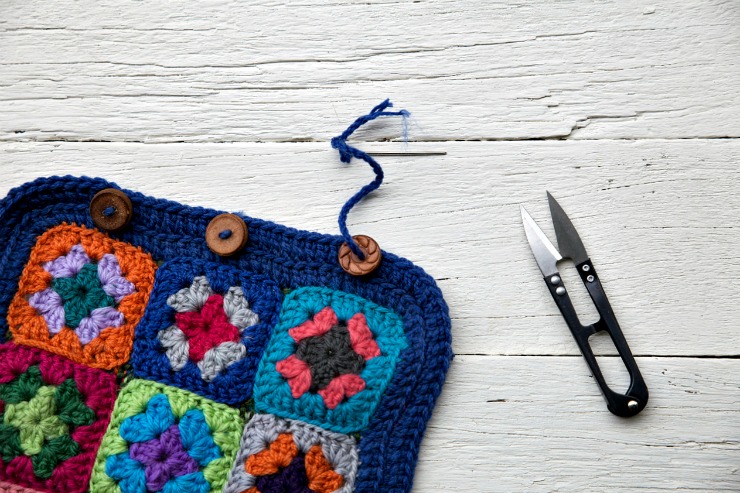
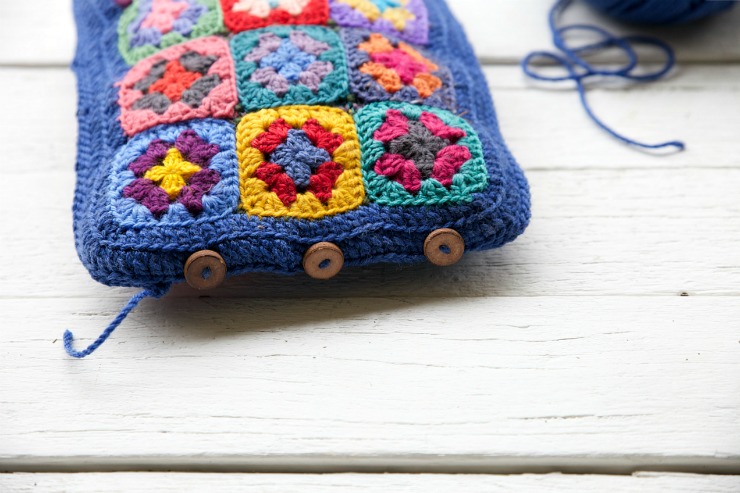
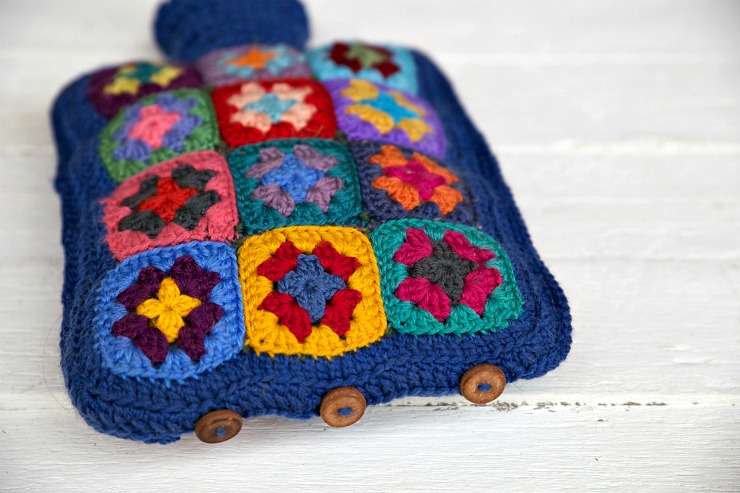
Start by sewing your buttons on the bottom of one of the granny sides. Make sure they are evenly spaced apart, I lined mine up with the middle of each square and make sure they are very close to the bottom of the last row of stitches.
Place your other granny panel on-top of the buttoned panel, wrong sides together, and do the buttons up by slipping them through the last row of dc's on the top. They will probably be tight but will wriggle through.
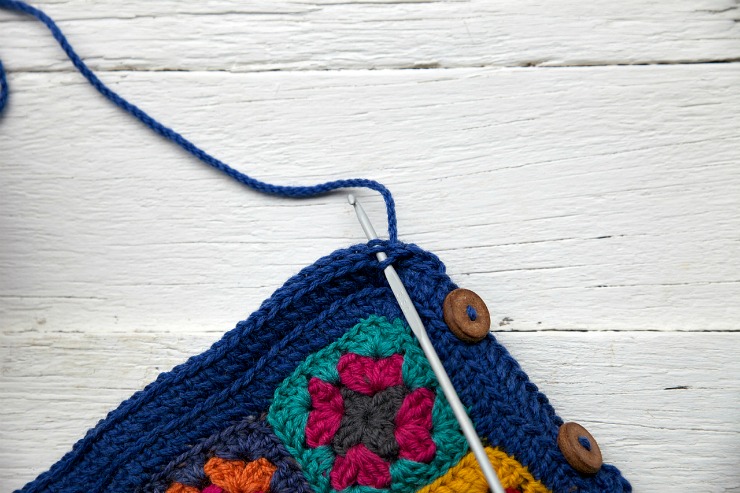
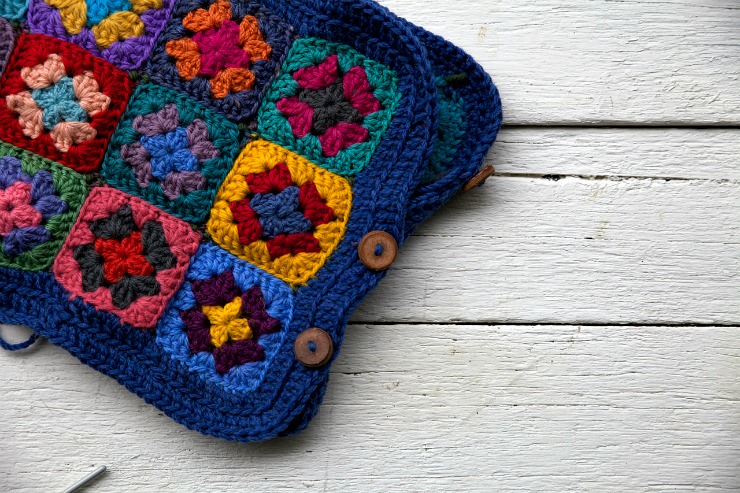
Now we're going to start crocheting the two panels together.
Join your wool a stitch after the outermost button and start crocheting around.
You can use slip stitch, single crochet, double crochet, or even something a bit fancy like a scallop for the joining, whichever you like the look of best. I used singles.
Continue hooking around making sure you crochet two stitches into each corner.

When you reach the opposite side of the cover to the buttons, stop in line with the end of the first square.
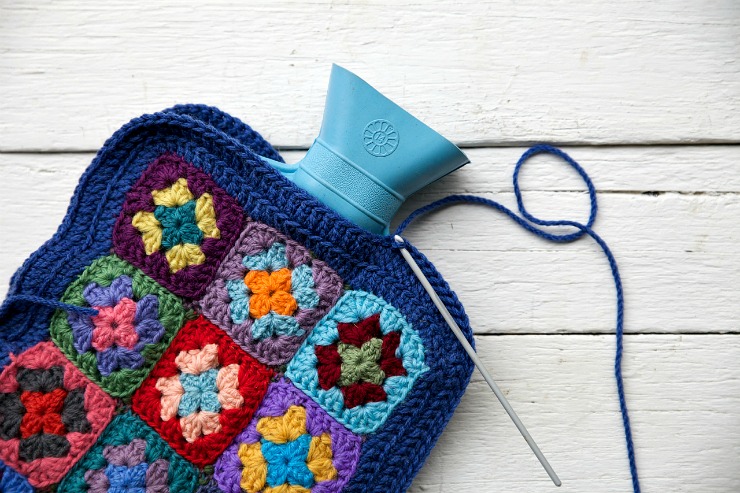
At this point I like to insert my hottie and crochet around it to ensure all the stitches fit it snugly.
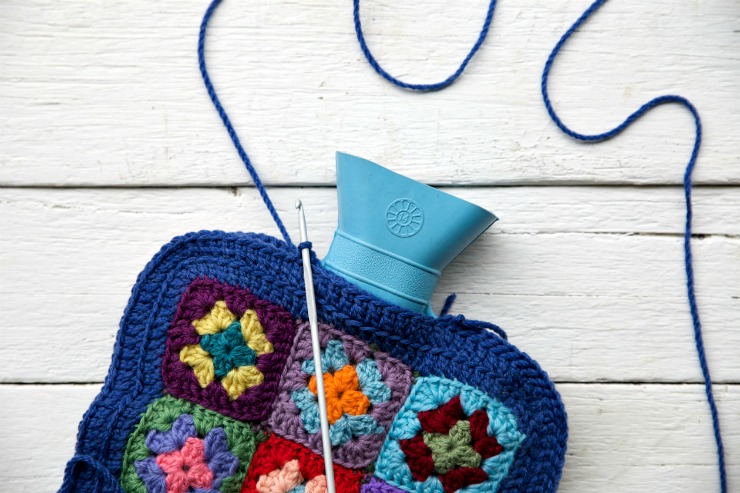
Staring again on the other side of the neck, after the next square, crochet around the other side.
Fasten off one stitch before the first button.
Now you have a clothed hottie with a naked neck sticking out!
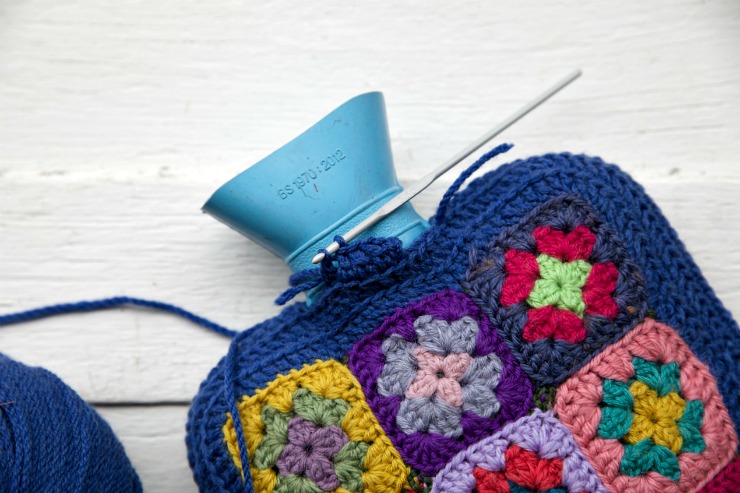
Join your yarn to one of the stitches in the row below, chain three and then start double crocheting your way around the neck. If it looks like there's a gap when you get to the side you can add an extra stitch or if it feels too loose, you can decrease a stitch.

When you get all the way around to the start, slip stitch into the third chain.
Then chain three and work your way all around the neck again.
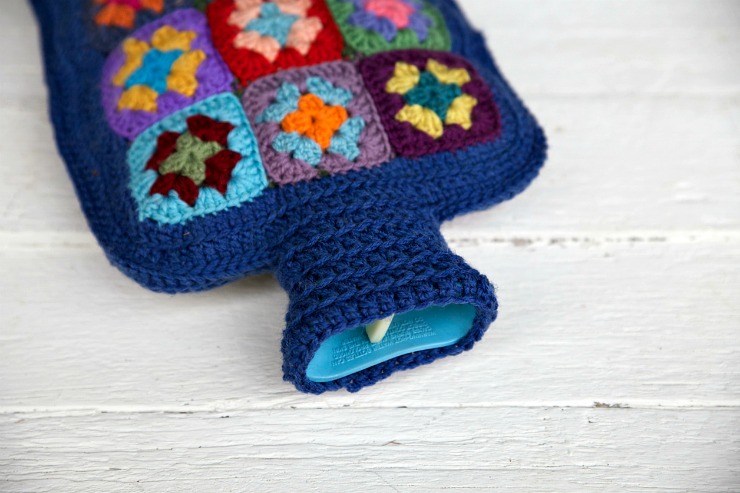
Continue like this until your neck is covered. I did five rows.
Purely as a guide only;
- my first row had 28 stitches.
- I decreased one stitch on either side of the second row making 26 stitches.
- my third row had 26 stitches.
- I increased a stitch on either side of the fourth row making 28 stitches.
- I increased a stitch on either side of the fifth row making 30 stitches.
After you have finished crocheting the neck, darn in all your straggly ends.
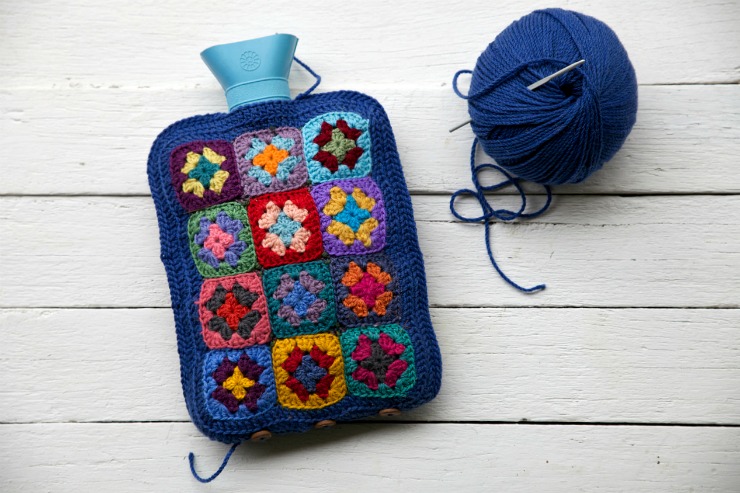
And look at that, you're all done!!
You have finished your #grannyhottie
Yipppeeeeeee!!!!!!
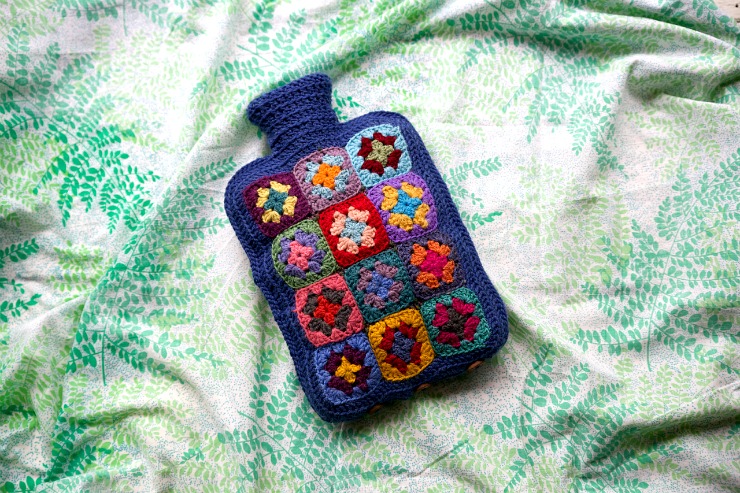 Now all that's left is to fill it up with hot water and jump into bed!!!
Ahhhhhh doesn't that sound like heaven.
If you've been grannyhottieing-a-long please share your pictures with us on instagram using the hashtag #grannyhottie. I can hardly wait to see how great yours all look.
Big love, happy grannies and toastie tootsies.
xx