#grannyhottie part two
Hello and welcome back to the granny-hottie-a-long.
Today we'll be moving right along to step two, but if you missed step one never fear you can find it here. Yay!
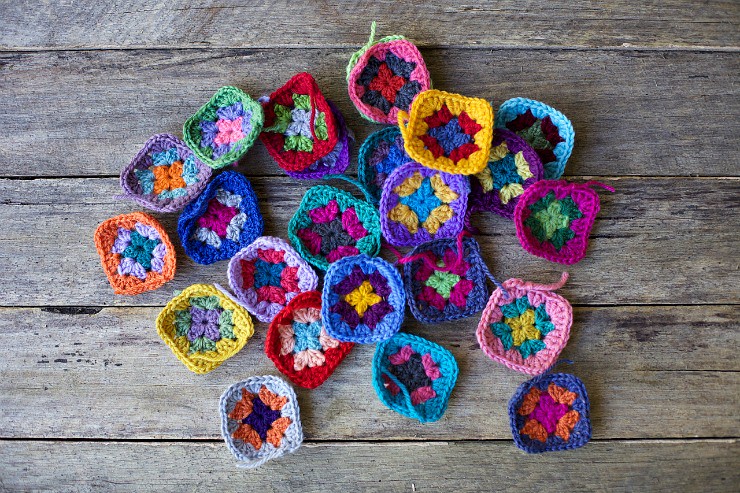
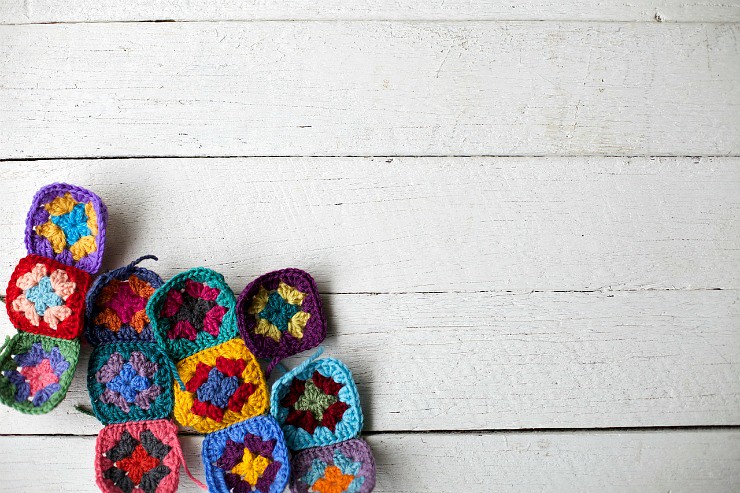
Today we are going to start with your pile of 24 cute little grannies.
Some people have smaller hot water bottles so they are going to start with their pile of 18 or maybe even 12.
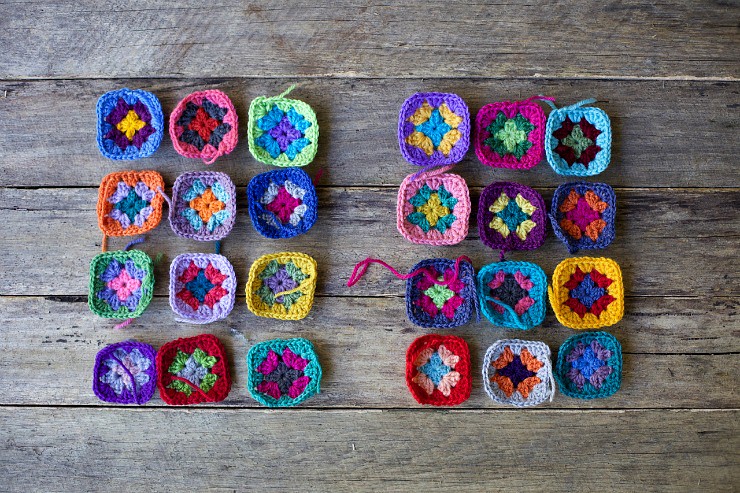
Divide your pile into two, half for the front of your hottie cover and half for the back.
Then arrange and rearrange your granny squares until you have a colour order that is pleasing to your eye.
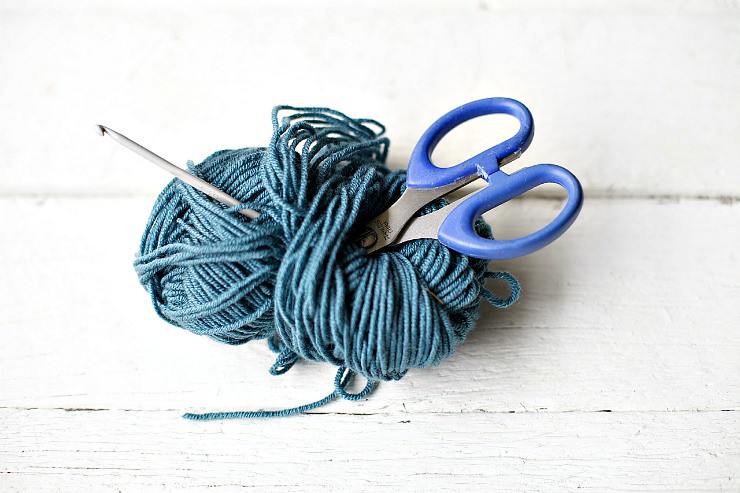
After that gather your crochet hook, your scissors and a ball of yarn to crochet them all together with.
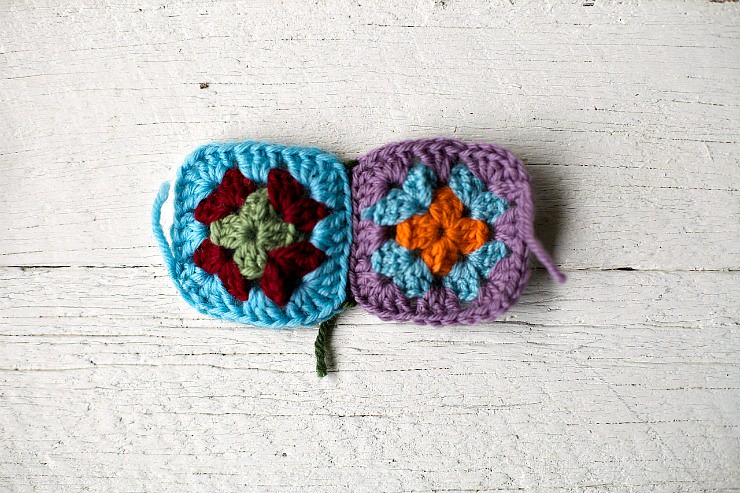
Start by crocheting two mini grannies together through the back loops.
Gorgeous Lucy over at Attic24 has a brilliant and easy to follow tutorial over on her blog if you need a bit of help with how to do this.
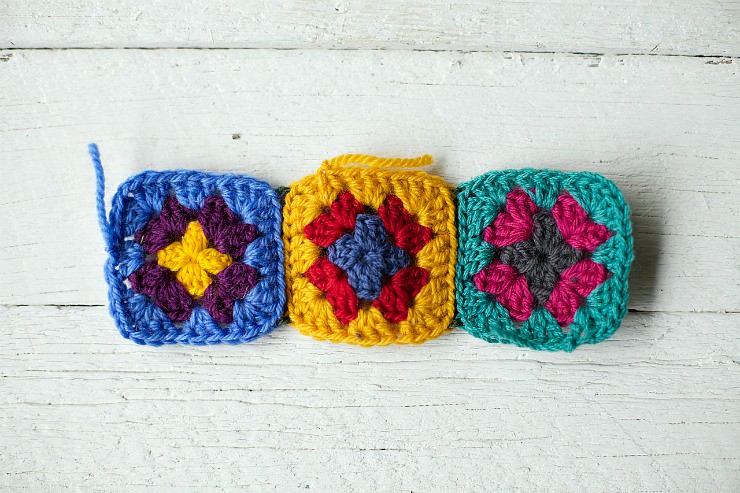
After you've joined two grannies, go ahead and join three.
Then join them all into rows of three.
 And then join those four rows of three all together into one piece.
Great job!! You're half way through step two.
Now go back to the top and follow along to crochet the other 12 grannies together.
Once you've made your front and your back you can darn in all your ends by threading them onto a needle and tucking them through a few stitches on the back and then snipping them off.
And that my friends, is step two done and dusted.
I'll see you back here next Tuesday for step three.
In the meantime we can chat about our granny hotties in the comments here, on Facebook here, and we can share photos on instagram using the hashtag #grannyhottie.
Happy grannying!
Bye!!
x